

07 Oct How to Light Wood Pizza Ovens the Right Way
A pizza peel should never meet a black, sooty oven floor. The difference between an exceptional wood-fired pizza and a frustrating first attempt usually begins well before the dough is stretched. Learning how to light wood pizza ovens correctly gives the firebrick time to absorb heat, produces a clean flame, and creates the high, even cooking environment that authentic pizza demands.
A handcrafted masonry oven is not a grill with a door. Its mass is its advantage. Real firebrick absorbs energy slowly, then releases it with remarkable stability. The goal is not simply to make a large fire. It is to build a controlled fire that heats the dome, floor, and surrounding masonry thoroughly without shocking the oven or filling the chamber with smoke.
How to Light Wood Pizza Ovens Without Forcing the Fire
Begin with an oven that is dry, clear, and ready for use. Remove loose ash from prior cooks, especially from the center of the floor where the fire will start. Leave a thin dusting of ash if desired, but do not allow old ash to restrict airflow or bury small pieces of kindling.
For a new masonry oven, follow the specified curing process before attempting a full pizza fire. Curing drives residual moisture from the refractory materials gradually. Skipping it can create steam pressure within the masonry, which may cause cracking or compromise the finish. This is one occasion where patience protects a significant investment.
Use clean, seasoned hardwood. Oak, hickory, maple, pecan, and fruitwoods are excellent choices when properly dried. The wood should feel light for its size, show cracks at the ends, and produce a sharp sound when two pieces are knocked together. Damp wood hisses, smolders, and coats the dome with soot instead of delivering clean heat.
Avoid pressure-treated lumber, painted wood, construction scraps, charcoal briquettes, and chemical fire starters. They can introduce unpleasant residues, uncontrolled smoke, or excessive ash into an oven designed for cooking with natural hardwood.
Build a Small Fire in the Center
Place two small split logs on the oven floor with a little space between them. Layer dry kindling over and between the splits, then add a natural fire starter or a twisted piece of uncoated paper beneath the kindling. Do not begin with oversized logs. A large pile of wood can starve itself of oxygen, creating a smoky, reluctant fire.
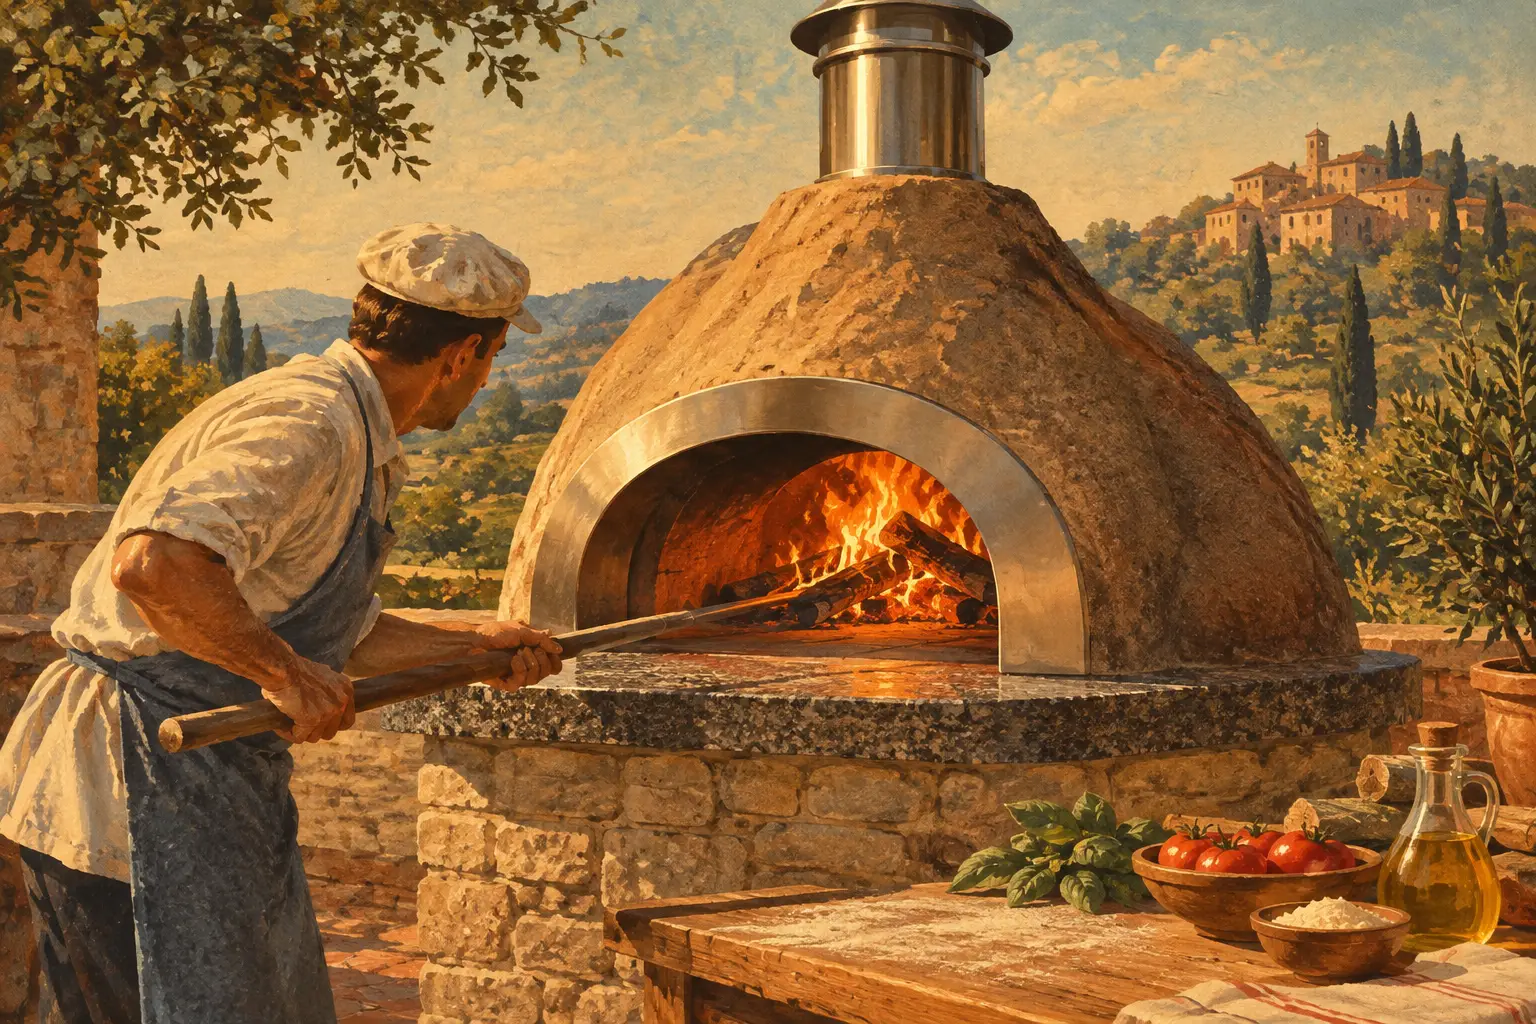
Light the starter and leave the oven door fully open. For outdoor ovens, confirm that the chimney is unobstructed and that wind is not blowing directly into the oven mouth. A steady supply of air is essential in the first few minutes, when the kindling needs to establish a flame strong enough to ignite the larger wood.
As the kindling catches, add one small split log at a time. Resist the temptation to load the oven heavily. A well-built fire grows in stages: starter, kindling, small splits, then larger pieces. This progression produces a hotter, cleaner burn and gives the firebrick time to accept heat evenly.
Let the Masonry Heat Before You Chase Temperature
A live flame can look impressive while the oven floor remains too cool to bake pizza properly. That is why a thermometer reading alone does not tell the whole story. The dome, sidewalls, and floor must become heat-saturated.
During the early stage, keep the fire centered and modest. Once it is burning cleanly, add progressively larger splits and maintain an active flame. In a substantial firebrick oven, a typical pizza firing often takes 45 to 90 minutes, depending on oven size, ambient conditions, wood quality, and how much heat remains from a previous cook.
Humidity and weather matter, particularly in coastal and subtropical climates. After periods of heavy rain or high humidity, an outdoor oven may need more time to dry and heat through. A properly built, insulated oven handles the elements far better than a thin metal appliance, but its masonry still rewards a measured warmup.
Watch the interior dome as the oven climbs in temperature. At first, the ceiling may appear black with soot. As the chamber reaches a clean-burning temperature, the soot begins to burn away and the firebrick returns to a lighter color. This clearing is one of the most useful visual signals that the oven is approaching pizza-ready conditions.
Move the Fire to the Side
When the dome has largely cleared and the floor has accumulated heat, use a metal peel or fire tool to move the burning wood and embers to one side or toward the back of the oven. This creates the open cooking zone needed for pizza while preserving an active flame for top heat.
Add a small split of wood as needed to maintain a bright flame that curls across the dome. For Neapolitan-style pizza, the live flame is not decoration. It provides the radiant heat that blisters the rim and finishes the toppings quickly while the hot floor crisps the base.
A door is useful during warmup for managing airflow in certain oven designs, but do not close it tightly over an active fire unless the manufacturer specifically directs you to do so. Restricting oxygen too early leads to incomplete combustion and smoke. Once cooking is underway, many pizza makers keep the door off or partially open, depending on wind, oven design, and the style of food being prepared.
Test the Floor, Not Just the Dome
An infrared thermometer is the most practical tool for assessing the cooking floor. Check several spots: near the fire, in the center, and toward the front. The floor nearest the flame will always be hotter, so pizza should be launched in the zone that matches the dough and topping load.
For fast, high-heat pizza, many cooks work with a floor temperature in the neighborhood of 700 to 800 degrees Fahrenheit, with a vigorous side flame and a fully saturated dome. Thicker dough, heavier toppings, or longer bakes call for less aggressive floor heat. There is no single number that suits every pizza.
If the floor is too hot, pull the coals farther back, give the oven a few minutes to settle, and brush the cooking area with a brass-bristle oven brush. If it is too cool, continue the fire and wait. Launching early is one of the most common causes of pale bottoms, torn dough, and toppings that overcook before the crust is ready.
Before the first pizza goes in, sweep ash from the baking area. A lightly damp oven brush can help clear fine ash and slightly moderate a floor that is running hot, but do not soak the oven floor. Water and extreme heat do not belong together in large quantities.
Correct Common Fire Problems Early
If the fire is smoking, the usual culprit is wet wood, insufficient airflow, or wood piled too tightly. Open the door, separate the splits with a fire tool, and let the existing flame establish itself before adding more fuel. Do not try to solve smoke by adding more wood.
If the flame keeps dying, use smaller and drier splits. Large logs need a strong coal bed and a well-developed flame before they will burn consistently. If the oven is struggling in gusty conditions, a partially positioned door may help shield the mouth, but airflow must remain adequate.
If the dome stays black long after the fire is active, the oven may simply need more time and better fuel. It may also indicate that the fire is too small for the mass of the oven. Build gradually, but build with purpose. A premium masonry oven is engineered to retain serious heat, and that performance begins with a properly sized fire.
Forno Nardona ovens are built around real firebrick construction because heat retention is not a cosmetic feature. It is what allows the oven to move from blistered pizza to roasted vegetables, cast-iron entrées, and slow-baked bread long after the initial flame has settled.
Treat the Fire as Part of the Cooking
A wood-fired oven becomes easier to use when the fire is viewed as an ingredient rather than an obstacle. Learn how your preferred hardwood burns, where your floor runs hottest, and how quickly your particular oven recovers between pizzas. After a few firings, the process becomes instinctive: a clean center fire, a fully heated dome, a controlled side flame, and a clear floor ready for the peel.
Give the masonry the time it deserves, and it will return that care in every crisp crust, charred edge, and memorable gathering around the fire.
No Comments